Creating your own web server at home may seem like a daunting task, but in reality, it only requires you to have basic tech knowledge and won’t be breaking the bank either. While not everyone’s acquainted with making their own web server, you’re in luck. Read on to figure out how!
To create a web server at home, you need to acquire a dedicated computer that you’ll be using as the server along with a strong internet connection. On the same PC, you’ll need to install an operating system (Windows or Linux) and enable remote access. Next, you need to configure the PC into a server that will allow you to send or download files from it.
Although this may sound very techy, it’s actually a pretty straightforward process that anyone can manage. With all the necessary hardware parts acquired, let’s dive into how you can set up your web server!
5 Steps To Create A Web Server At Home
Having your own web server at home is a way to organize and secure all of your data in one place. Just follow these five easy steps, and in a matter of time, you can rightfully call yourself the owner of a server.
Step 1: What Do You Need
Before we get into the technicalities, knowing what components you require to create a web server at home is essential. You definitely don’t want to have to run to the computer hardware store in the middle of assembling a web server just because you’re missing a part. Thus, we’ve listed some things you should have before you begin to make a server:
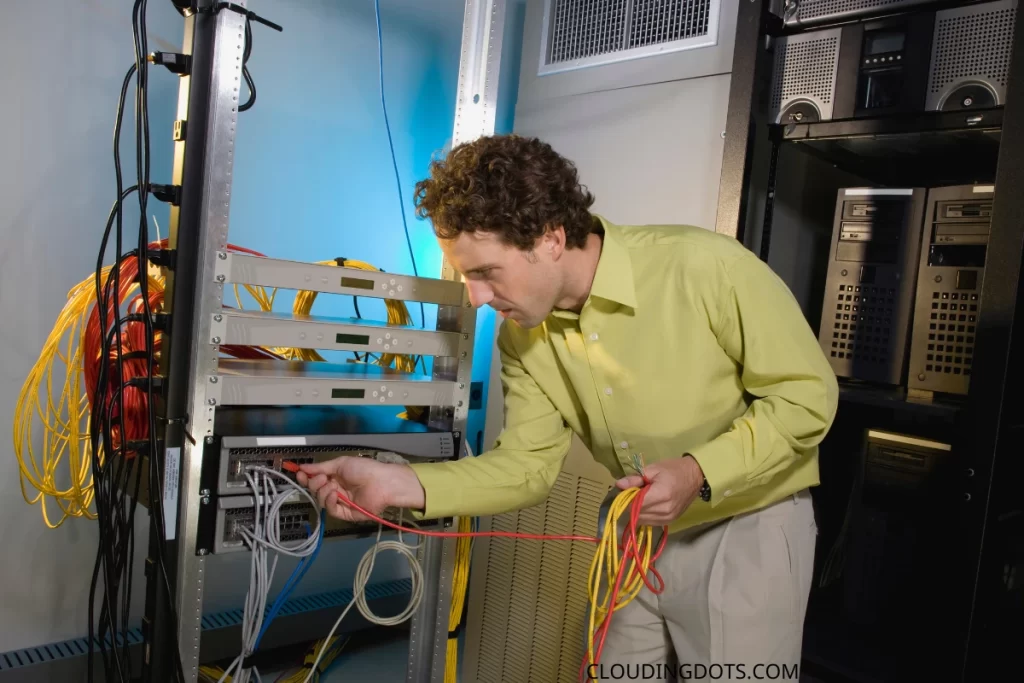
Computer
The first thing you need at home is a PC on which you’ll be configuring the server. It doesn’t have to be a high-end PC, so even if you don’t have one at home, don’t spend hundreds of dollars on purchasing one.
A system with about 64MB of RAM paired with a 300MHZ processor will work perfectly as a server. The only thing you’ll need to spend money on is the cooling system in your PC since it’ll be running all day, and you don’t want it to overheat.
Storage
Storage depends on the work you’ll assign to the server. If you’re creating a server just because you don’t want to spend more money on buying iCloud storage, or want to upload movies on it to share with your family members, then it is recommended to get at least a 3-4 TB hard drive.
Although this might be overkill, you’ll clearly realize how much storage you need once you start operating your server. Even if the 3-4 TB hard drive ends up being insufficient, you can always upgrade them since hard drives are not very expensive.
Internet Connection And Ethernet
Unless the server of your purpose is to stream movies or videos, your home internet connection should be more than enough for your computer. Otherwise, we recommend getting an internet connection of around 25-50 Mbps for your server. We also recommend hooking up the PC to the internet via an ethernet cable since a wired connection is faster and more reliable than a wireless one.
Although modern-day motherboards come with an ethernet card installed, if your motherboard doesn’t have one, you can purchase one from the computer hardware store.
Peripherals And CD Drive
You will also need a keyboard and a mouse to set up the server. Also, having these peripherals may come in handy if you decide to upgrade your server. As far as the CD drive is concerned, you’ll need it once to install the OS on your PC.
Step 2: Which OS To Use
After collecting all the essentials, you have to choose an operating system your server will run on. There are only two choices you can select from; Windows or Linux. So which one should you choose?
Linux
Linux OS is one of the most renowned operating systems used to run servers due to its customizability options and being more secure than Windows. The OS is also open source and free to use; hence, it comes out as a clear winner against Windows.
Windows
Although Windows isn’t as popular for servers as compared to Linux, it provides you with long-term support for any issues you may encounter while hosting a server. However, the drawback is that you need to purchase a Windows license, and for that reason, many people just turn to Linux.
| Windows | Linux |
| Need a paid license to use as a server | Free to use |
| Works with every program | Doesn’t work with certain programs |
| Provides technical support | No technical support |
| More secure | Less secure |
Step 3: Setting Up VNC
The next step is to set up a virtual networking computer, also called VNC. So what is VNC? And why is it important to set up when creating a server? Read on more as we tell you
What Is VNC
VNC is a cross-platform screen-sharing system that allows you to control a PC remotely with the help of another PC. This means that if your server is in the USA and you’re on a trip to Japan, you can control the PC in the US with the help of VNC.
To do this, you need to set up a server component (called VNC server) on the PC you want to set up as a server and a client component (VNC Viewer) on the other PC that you’ll be using to control. This program even gives you full access to the mouse and keyboard commands, which means that you have full control over your server system remotely.
How To Set Up VNC
As complex as the technicalities of this program sound, there’s no need to panic. It is pretty simple to install. Firstly, you will need to install Ubuntu or a vnc4server package. After that, you’ll need to configure and set up the remote access by checking some options which will allow others to control and view your desktop (options may differ on different operating systems):
Then, the program will ask you to set up a username and password. Enter that, and you’re ready to roll!
Step 4: Configuring Your Server
FTP, short for File Transfer Protocol, is the protocol that will allow you to send or access your files to and from your server. This will enable you to make your private cloud storage, and allow you to transfer files at a very high speed. With that said, Windows and Linux each have a different process of setting up FTP.
You also need to set up HTTP for your website which will enable intercommunication on your server. On Linux, you can type the following command to install the necessary HTTP files:
sudo apt-get install apache2
On Windows, you can download the HTTP/2.0 package from anywhere on the internet and follow the prompts to set it up, which won’t be that difficult to do.
Step 5: Domain Name And Testing The Server
You’re almost done if you’ve reached the fifth and final step of our article. All that’s left is to set up the domain name so people can find you on the internet. Without the domain name, they’ll have to type in your external IP address, which can be hard to remember and many people don’t feel like getting into the hassle of typing all that series of numbers.
You can either purchase a domain name from a domain registrar or maybe surf Google to find websites that give out free domains.
Next up is to test the server and see if it’s working correctly or not. Before you test it, wait for a couple of hours to make sure the changes have taken place. After waiting a while, open a browser and type in:
http://<your no-ip domain>.com
If that doesn’t work, then try out:
http://<your Internet IP>
If the second one doesn’t work either, try this one out:
http://<your LOCAL IP>
If any of the three work and you see your server, then congratulations! Otherwise, you’ll, unfortunately, need to start over.
Conclusion
Although setting up a server may seem like you’d need a college degree to do so it is quite easy to set up and will also set a foundation for you to dwell in the world of servers. What’s more is that it helps you organize your files in one place and is a great tool to share stuff among members of your household!